Installation of acoustic panels
How to Install Konto Acoustic Panels – Reliable Methods for Walls and Ceilings
Konto acoustic panels can be installed in several ways depending on the wall surface, room conditions and the desired final appearance. Below are clear, practical instructions for the most common installation methods.
Fixing with Adhesive
Installation glue – Konto Acoustics – Products from Nature
Installation glue – Konto Acoustics – Products from Nature
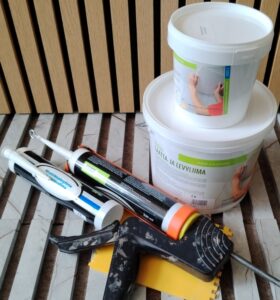
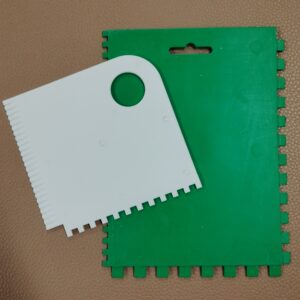
Adhesive installation is the most common and reliable method for mounting Konto acoustic panels. The adhesive is applied using either a 3–4 mm notched trowel or cartridge adhesive (330 ml).
Average adhesive consumption: 0.3–0.7 litres per m², depending on panel size and wall surface.
Adhesive installation is suitable for most smooth surfaces and ensures a tight, long‑lasting bond.
Video examples:
https://www.youtube.com/watch?v=lMWqMZJzMKc — @kranttutanttu
https://www.youtube.com/watch?v=LRiF4hRKbGk — @timpuriltatalo
Fixing with Construction Tape
Henkel installation tape – Konto Acoustics – Products from NatureDouble‑sided construction tape can work for small and lightweight installations, but we cannot guarantee long‑term adhesion on all surfaces. Tape is not recommended for ceiling installations.
Common issues and solutions
- Porous panel surface: tape may not adhere properly. Solution: pre‑attach the tape to the back of the panel using adhesive or hot glue.
- Fresh or greasy wall surface: tape may detach and the panel may fall off. Solution: allow the paint to dry fully, clean the surface, or choose another installation method.


Tip:
For a stronger and more reliable result, attach the double‑sided tape to the acoustic panel with a small amount of hot glue before mounting it on the wall.
Fixing with Nails
Konto-kiinnitysnaula – Konto Akustiikka – Tuotteita luonnosta
Nail installation works on wall surfaces where nailing is possible.
A thin, headless nail with a small plastic spacer at the tip creates a slight air gap between the panel and the wall, improving acoustic absorption.

Fixing with a J‑Profile (Picture Rail)
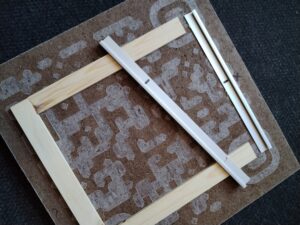
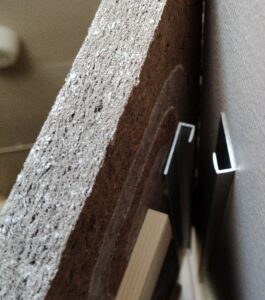
An aluminium J‑profile offers a clean and easy way to mount the panel on a wall. We pre‑attach the profile to the back of the panel, allowing it to be hung securely on two nails or screws.
Suitable only for wall installations.
Suspension with Wire or Chain + Hook (Hanging Elements)
For ceiling‑hung or floating acoustic elements, the following accessories are available:
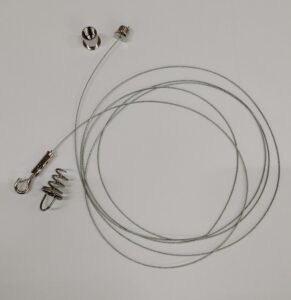
- wire suspension set
- chain + hook pair
These allow the element to be safely suspended from the ceiling at the desired height. Suitable only for hanging elements, not for wall installations.